The photoelectric
effect - A simulated experiment |
|
|
|
Graphical design |
ALEXANDRE AYOTTE, aa@cyberlude.com |
|
|
For explanations on the simulation features, see the online help (in a new window). The help is also available in the simulation (rightmost button ? in the upper part of the window). |
|
|
|
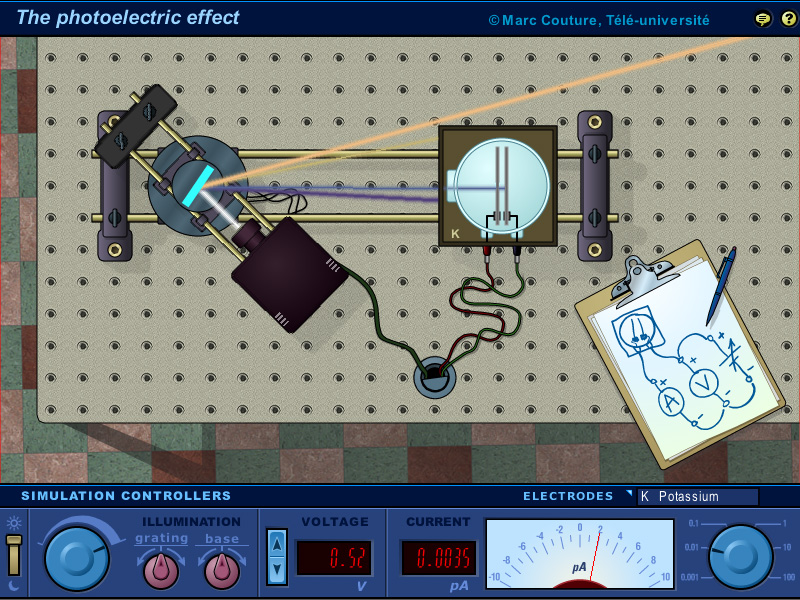
In this experiment, a camera is located in the ceiling of a laboratory, directly above one of the tables. The central part of the simulation screen shows the table and apparatus as they would appear on a monitor feeded by the camera. In the lower part of the screen, one finds the controllers used to modifiy the parameters and make measurements. The simulation allows one to explore the photoelectric effect, i.e. the emission of electrons by an illuminated metallic surface (called an electrode), much in the same way as in a real laboratory. You can change the intensity of the illuminating beam, select different wavelengths by rotating a diffraction grating, adjust the voltage of the illuminated surface (relative to a similar surface located nearby) and repeat the experiment with electrodes made of various metals. No specific guidelines are provided as to the way to conduct the experiment. Think of simply having access to a lab with the all the apparatus needed. The simulation is based upon a relatively simple model of the photoelectric effect (see DuBridge, L. A., "Theory of the energy distribution of photoelectrons", Physical Review, vol. 43, 1933, p. 727-741). However, it reproduces to a fair extent what one would do and observe in a real laboratory. In particular, the values provided by the picoammeter (needle and digital display) are unstable, especially at the lowest scale, much like one would observe in a real lab. |
|
Last updated : May 5, 2021 |
|
|